Giant Tutorial Quest Part 3
quest
In this Tutorial Quests, the focus will be placed on exploring around regions other than Vales. Prepare to experience the endless adventures of Erinn by investigating new territories and battling powerful monsters.
* The following can be proceeded after completing the [Production Mastery] of the Giants Tutorial Quests. For information on [Production Mastery] quest, please reference ‘Giants Tutorial Quests Part 2’.
* All Giants Tutorial Quests are sequential. You must complete the required quest in order to move on to the next quest; so don’t forget to click [Complete] after the quest has been completed.
1. Hunting Gray Dingoes
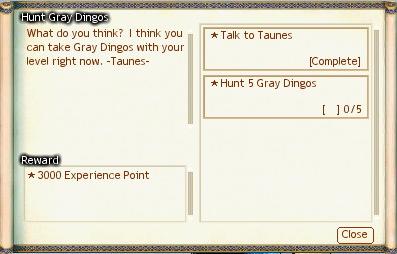
Upon your completion of the [Production Mastery] quest, you will receive the [Hunt Gray Dingoes] quest. Much like the [Defeat Little Gray Physis Foxes] quest in Giants Tutorial Quest Part 2, you will be required to defeat 5 Gray Dingoes.
Taunes will provide you with instructions which will lead you to the southwest side of the village; you will encounter the Gray Dingoes hovering the snowfield, 5 of which you will defeat using the Combat skills you’ve acquired.
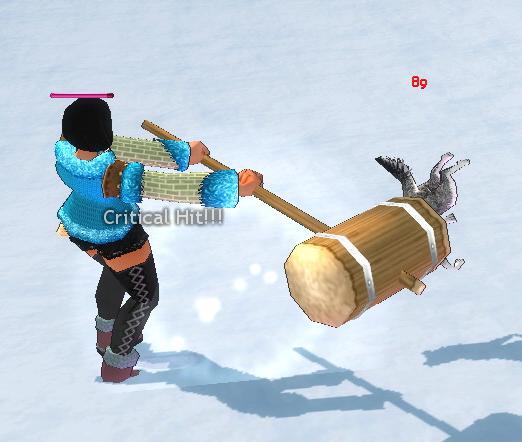
You can complete the quest when you defeat 5 Gray Dingoes.
2. Animals Buried in Snow
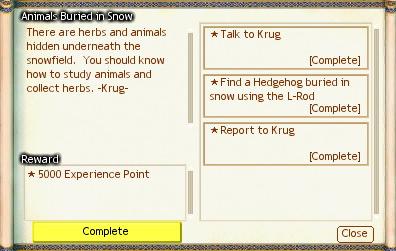
You will be surprised to find many different artifacts as well as medicinal herbs and animals in the vast snowfield of Physis.
Using the [Snowfield L-Rod] which can change the landscape, engage in the Landmaker Action to investigate.
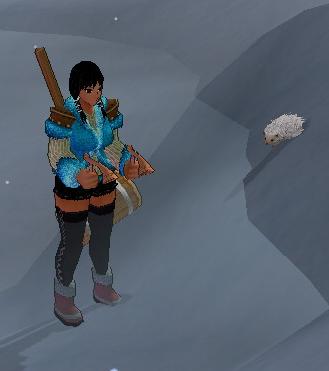
With the Snowfield L-Rod you have acquired from Krug in your hand, you can use the Landmaker Action.
Follow the map to find a Hedgehog buried in snow using the L-Rod.
Upon finding a Hedgehog buried in snow using the L-Rod, report back to Krug and speak with him to complete the quest.
3. Hunting Brown Coyotes
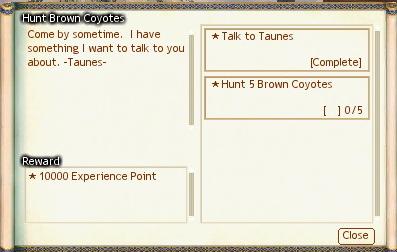
It’s time for you to execute a quest from the courageous Giant warrior, Taunes. He will tell you that he wants to give you an actual mission, not just a simple training exercise; and ask you to defeat the Brown Coyotes. As indicated on the Mini Map, the Brown Coyotes can be found near the Reus River.
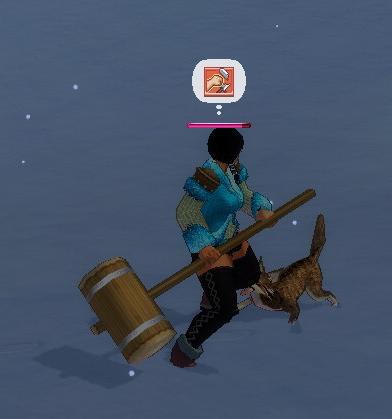
The Brown Coyotes are much more powerful, hence more difficult to defeat than other monsters you have come across. Use the Defense skill appropriately to defeat them successfully.
Without having to report back to Taunes, you can complete the quest simply by defeating 5 Brown Coyotes.
4. Patroling Rano Base Camp
Since being at war with the Elves, the Giants are in dire need of support from the Humans in order to occupy the more advantageous location. Krug will tell you to pass through the Underground Maze and pay a visit to the Base Camp built by the Humans.
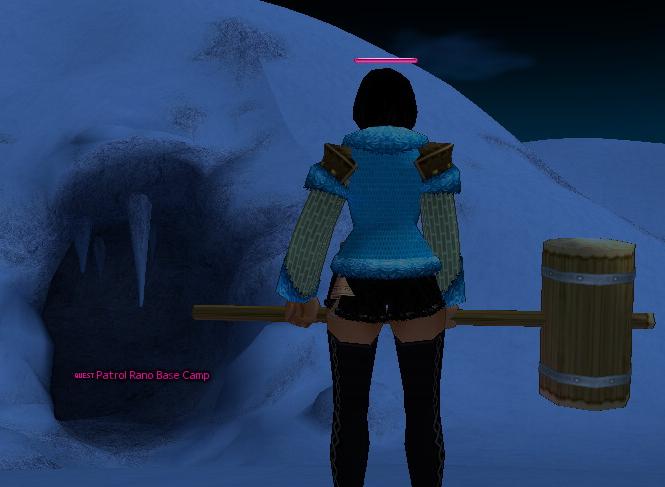
The Underground Maze that runs from Physis to Rano connects from the north tunnel to the south tunnel. You can find the entrance to the Underground Maze by following the [QUEST] mark indicated on the Mini Map.
When you enter the Underground Maze, you will witness the Maze unfold like a Dungeon.
In order for you to find the entrance, you must first find the hidden door. Carefully examine the walls of the Underground Maze as you roam around. When you come across an area that seems suspicious, place the cursor to see if you have spotted the hidden door; the cursor will change to the shape of a fist when it is placed correctly on the hidden door, and the door will either open or collapse when you click on it.
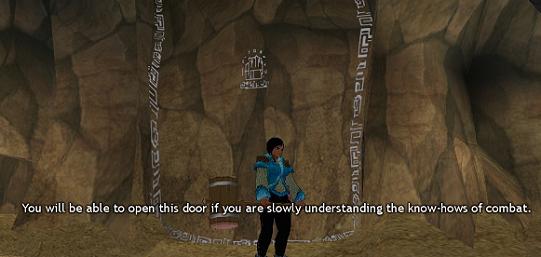
Some of the hidden doors require you to fulfill certain conditions.
Behind said doors, you will find strong monsters as well as treasure chests.
* You can escape the Underground Maze through finding only the hidden doors without special requirements if you so choose.
* For Physis ? Rano Base Camp, keep heading right; for Rano Base Camp ? Physis, keep heading left for an easy transit.
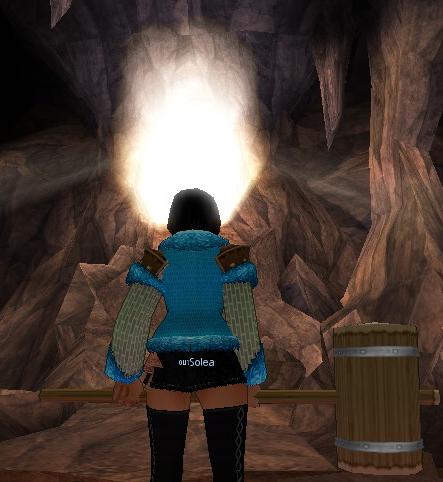
The Underground Maze will present you with monsters like the Antlions, Cave Bats, Goblin Keepers, White Spiders, and Saturos. As you explore this seemingly endless Underground Maze and defeat various monsters, you will find a door as shown above. This is the exit that will lead you to the outside world.
However, remember that you must pass through 2 Underground Maze to reach Rano since the Underground Maze connects from the north tunnel to the south tunnel.
After you escape the Nubes Underground Maze, you must go to [Qilla Base Camp], a village of the Humans. Open the Mini Map and follow the [QUEST] mark to locate Qilla Base Camp.
Follow the [QUEST] mark to find Alexina and speak with her to complete the quest.
5. Collecting 5 Sheep fur
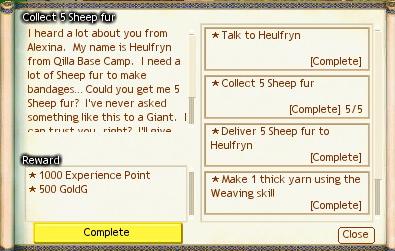
After meeting Alexina, you will receive a quest from Heulfryn, asking you to deliver 5 bundles of wool to make bandages.
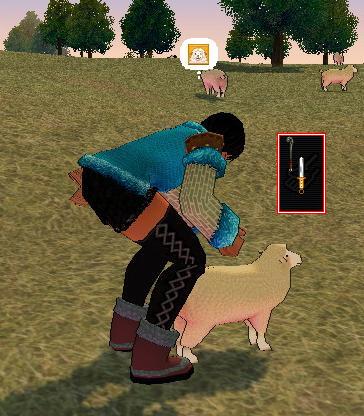
You can shear the wool from the sheep near Qilla Base Camp. Hold the [Gathering Knife] you receive from Heulfryn and click on a sheep to shear the wool. Remember, you will fail at collecting wool if the sheep moves while you shear.
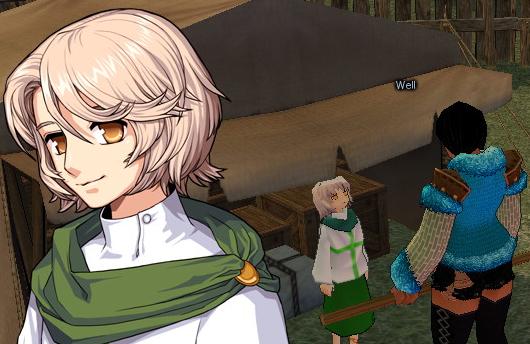
After you have successfully collected 5 bundles of wool, store them in your Inventory and report back to Heulfryn. He’ll then ask you to make Balls of Thick Thread using the spinning wheel with the Weaving skill he offers to teach.
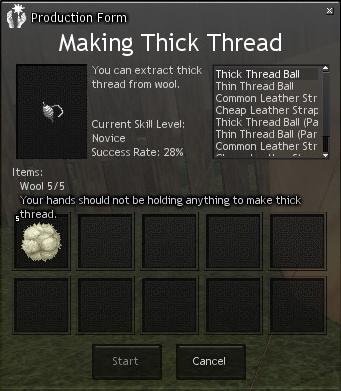
Follow the guidelines below to make Balls of Thick Thread using the spinning wheel.
1. To make 1 Ball of Thick Thread, prepare 5 bundles of wool.
2. Put 5 bundles of wool in the Production Skill window which will appear when you click on the spinning wheel.
3. Empty both hands of your character and click [Start].
The success rate of making Balls of Thick Thread depends on your character’s Dexterity or rank of Weaving skill. If you form a party with other characters who have the same skill to make the Balls of Thick Thread, you will receive a party bonus which will enhance your rate of success.
Hence, it is encouraged that you join a party consisting of users with higher Weaving skill rank or Dexterity to optimize your success rate.
Report back to Heulfryn with a Ball of Thick Thread stored in your Inventory; an automatic delivery of the Thick Thread to Heulfryn will complete the quest.
6. Krug's Advice
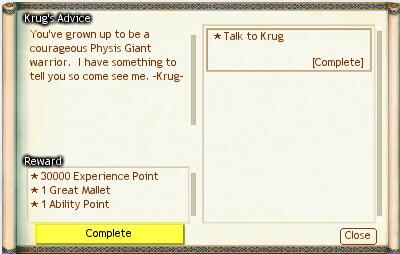
Krug will ask you to come see him after you have completed the [Collect 5 Bundles of Wool] quest. He will advise you to freely follow your instincts rather than being confined to the requirements with which these quests present you.
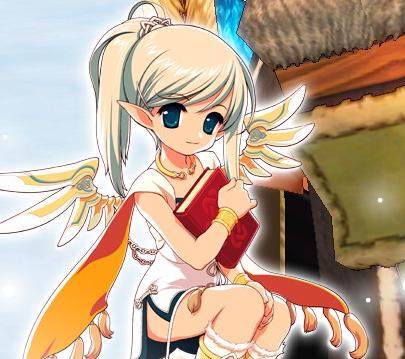
When Krug finishes offering his advice, you will part from Eiry, who will express her gratitude for your developing into a respectable Giant warrior and disappear.
Upon completion of the [Krug’s Advice] quest, it is strongly suggested that you purchase a new weapon for your future battles as you will no longer be under Eiry’s guidance.
7. Hunting White Physis Foxes
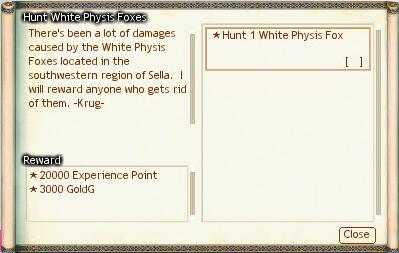
There's been a lot of damages caused by the White Physis Foxes located in the southwestern region of Sella. Krug will reward anyone who defeats 1 White Physis Fox, so see if you can contribute to keeping the safety of Physis.
Follow the [QUEST] mark indicated on the Mini Map to locate the Foxes.
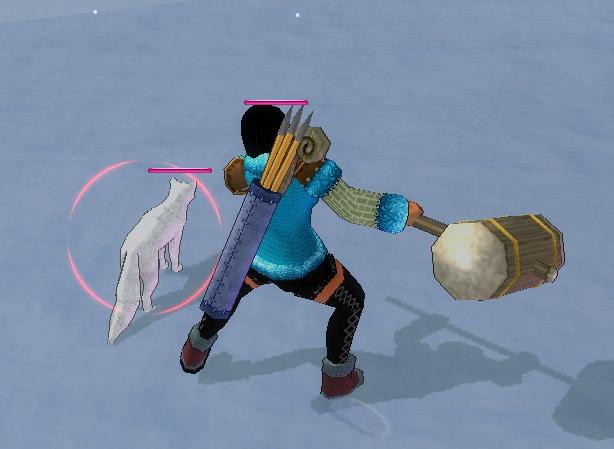
The White Physis Foxes will attempt to strike you with a close-range attack. Hence, using the Defense skill appropriately along with the Combat skill will allow you to defeat your opponents more easily.
You can complete the quest by defeating 1 White Physis Fox without having to report to an NPC.
8. Hunting Black Snowfield Bears
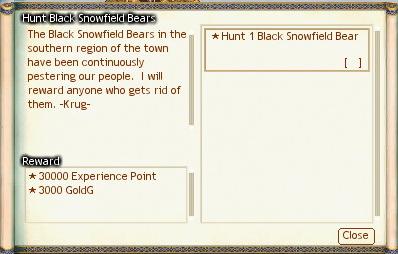
This time, the Black Snowfield Bears in the southern region of the town are continuously pestering the townspeople. As with the [Hunt White Physis Foxes] quest, Krug will reward anyone who defeats a Black Snowfield Bear.
Open the Mini Map and follow the [QUEST] mark indicated near Silva Forest.
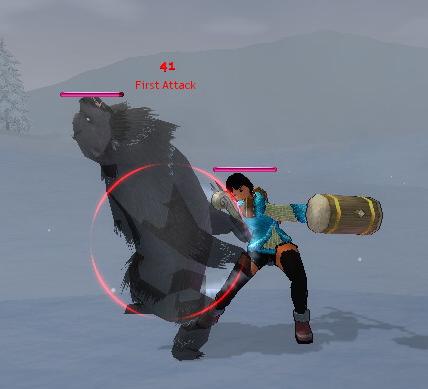
Expected from their threatening appearance, the Black Snowfield Bears will attempt to strike you with a powerful close-range attack. Use the Counterattack skill or Defense skill to battle competitively. Should you struggle to defeat the Black Snowfield Bear alone, it is a good idea to join forces with other Giant warriors.
You can complete the quest by defeating 1 Black Snowfield Bear without having to report to an NPC.
9. Hunting White Wargs
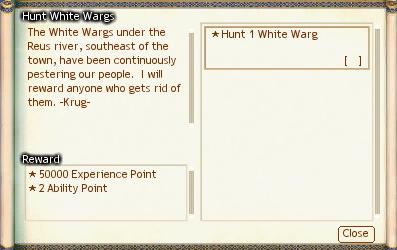
You can find White Wargs in the southeast region below the Reus River. Follow the [QUEST] mark near the Lunae Valley indicated on the Mini Map to locate the White Wargs, for which you will be reward if you are able to defeat one.
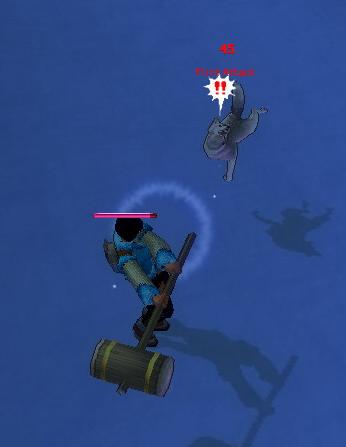
The White Wargs will strike you with fast and powerful close-range attack that surpasses the strength of other monsters you have battled against. If their level of strength seems beyond your capacity, train further to enhance your skills before battling.
You can complete the quest by defeating 1 White Warg without having to report to an NPC.
10. Upgrading an Item
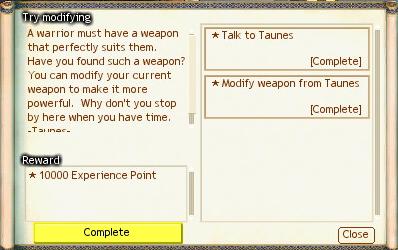
Place the cursor on a weapon to view its [Proficiency] in the item information.
The proficiency level will build up as you use the weapon continuously throughout a long period of time, which will allow you to modify a weapon.
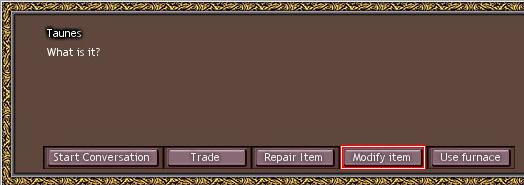
Speaking with Taunes will earn you a [Guide Book for Item Upgrade] along with a brief explanation on weapon upgrade. After you finish your conversation with Taunes, start another conversation to select [Modify Item].
You can get upgrades such as the Morning Star, Great Sword, Great mallet, etc. from Taunes.
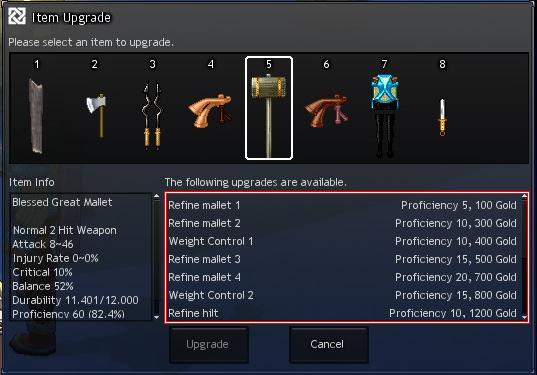
The Item Upgrade window will appear when you select Modify Item.
If you select the item you wish to upgrade, a list of weapons available for modification will appear on the right hand side. Select the desired category and click [Upgrade] to make a modification.
The upgrade will not be available should you lack Proficiency or Gold, which will be indicated in gray.
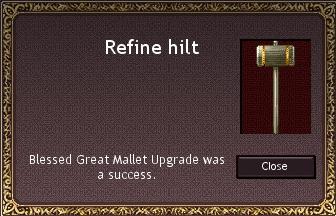
A message, as shown above, will appear after you have modified an item of your choice.
The available upgrades differ depending on the NPC.
If you wish to customize your weapon, find the NPC who offers the service you are looking for.
* All items available for modification can undergo a maximum of 5 upgrades.
* You cannot revert back the upgrade once it has been applied, so use your best judgment when you select the weapon upgrade.
Once you successfully get your weapon modified by Taunes, you will be able to complete the quest without having to report to an NPC.
Upon completion of the [Upgrade an Item] quest, you will officially have finished with all the Tutorial Quests for Giants. You will find your character much more accomplished and capable than when you first arrived in Physis.
You are now ready to embark on a journey to explore the vast land of Erinn, where many new NPCs and unexplored regions await.
Best of luck to you and your future endeavors in Erinn!