Alchemist - Main Storyline - Part 1
story
This post is based on “Alchemist,” the main storyline behind Mabinogi’s Alchemist Storyline Quests. If you do not wish to find out what happens next, feel free to return to the previous page and view other strategy guides. Contents:
I. Andras’s Test
II. The Alchemist Seal
III. The Saga Continues…
Notes
- - - - - - - - - - - - -
I. Andras’s Test
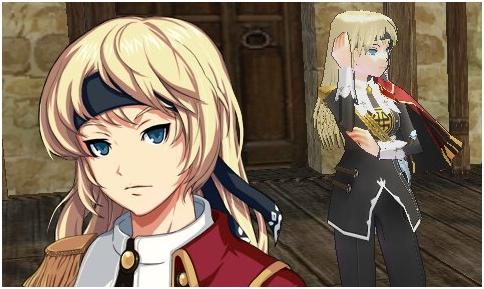
Upon receiving the [Andras’s Test] quest, visit Andras, who can be found at the Taillteann Headquarters. When you see her, she tells you that she has recently acquired a clue from a guardsman that can reveal the mysteries of the Shadow Realm.
However, before she reveals any information, you must first prove your worth and courage, as she is rather worried about Fallon, who has gone missing.
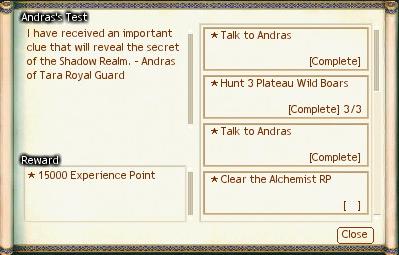
She appears to favor you from your success with the Fallon’s Summons quest, but you must hunt 10 Dire Wolf Cubs (found in the southern plains of Taillteann) and 3 Plateau Wild Boars (found in the western plains) in order to gain her full trust.
(When you’re hunting, keep in mind that only designated Wolf Cubs and Wild Boars will count towards the requirement. Defeating monsters other than those designated by Andras will NOT count towards the number of kills required for successful completion.)
Once you have eliminated the monsters, report back to Andras to receive the Alchemist Seal.
II. The Alchemist Seal
The Alchemist Seal you receive from Andras belongs to an alchemist named Leymore. He was on a secret mission involving the Royal Regime of Ailech before he went missing in the Shadow Realm.
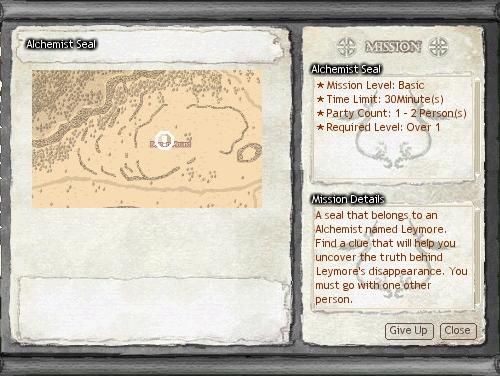
You are asked to probe into Leymore’s Memory using the Alchemist Seal and attempt to collect as many clues as possible.
You can enter Leymore’s Memory through Stonehenge, located in northwestern Taillteann, as you had done before when you were participating in Fallon’s Summons quest. (It is preferable to execute this quest by forming a party with 1 or 2 members.)
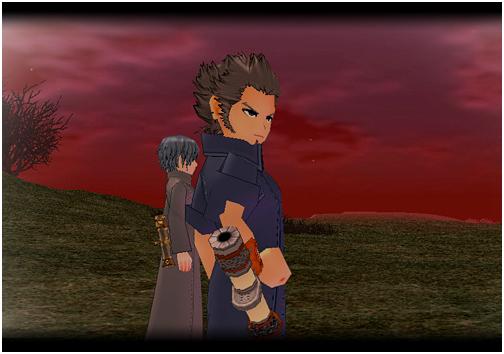
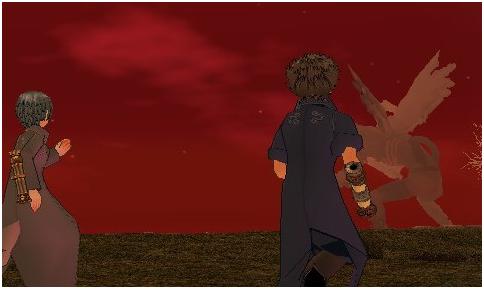
When you enter the Shadow Realm, you confirm that Leymore is on a mission with another figure named Cai.
The pair encounters new evil creatures as soon as they arrive at the location of mystery after following the trails of Erg.
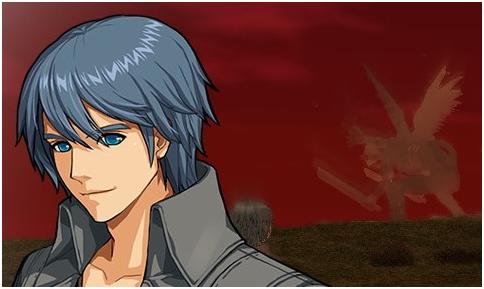
After the two men defeat the Arat Boar, Shadow Bear, and Crag Cow, they are jolted by a thunderous scream they hear from afar. To their shock, they discover it is none other than Glas Ghaibhleann, whom they thought was no longer alive.
Leymore is in disbelief as he claims that Glas Ghaibhleann was destroyed by a Milesian.
Cai, however, suggests that he may have heard from Berched that it is possible to use Druid’s magic to summon a monster identical to Glas Ghaibhleann.
Leymore disagrees with Cai’s assumption, saying magic would have simultaneously generated the spirit summon effect instead.
The memory stored in the Alchemist Seal concludes with the two in apprehension.
After the Alchemist Seal, you’ll be able to complete the [Andras’s Test] quest.
- - - - - - - - - - - - -
III. The Saga Continues…
Through Leymore’s memory stored in the Alchemist Seal, you were able to get a quick glimpse of this extraordinary phenomenon in the Shadow Realm.
There is much intrigue, with new monsters that have previously never been seen and the unexpected reappearance of the mighty Glas Ghaibhleann.
But questions still remain. If Leymore is right and the monsters were not summoned by magic, then how did they appear? And where could the two alchemists have disappeared?
Report back to Andras to see if there is anything you can do to help investigate this strange phenomenon in the Shadow Realm.
Notes:
*If you have exited the Shadow Realm before completing the Shadow Mission during the Alchemist Seal, you must talk to Andras and receive the Shadow Mission again in order to re-enter.