Elf Tutorial Quest Part 2
quest
Part 1 of the tutorial quest for Elves dealt with the quests that took place near Filia. This guide will deal with the general lifestyle of the Elves, as well as review the exploration of artifacts, sketching objects, and defeating powerful monsters.
* The quests covered here can be accessed after completing a tutorial quest for Elves called [First Aid and Resurrection].
* All Elf tutorial quests are linked to one another. You must complete the quests in order to move on to the next quest, so when you complete the quest, be sure to click on [Complete] to complete the quest.
1. Learning to use Counterattack
After completing the [First Aid and Resurrection] quest, you will receive a new quest called [Learning Counterattack]. Counterattack is a skill that allows you to absorb the damage received through melee attack, and dish it back at the unsuspecting attacker. This skill will come in very handy in combat situations, so I suggest you go though the counterattack skill tutorial quest.
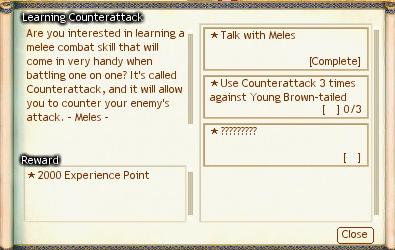
When you start the conversation with Meles, she will explain to you what a counterattack skill is. After the conversation, press [S] to open the skill window, and you will notice that you have Counterattack in your skill window, ready to be practiced and moved up to Rank F.
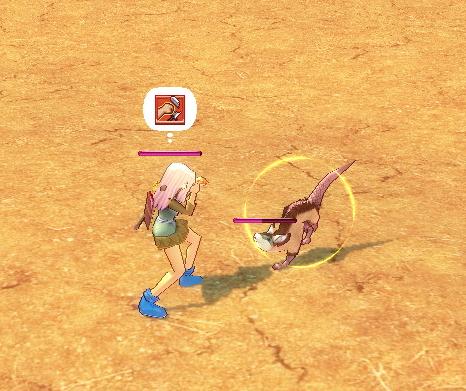
Press [Learn] to move the skill up to Rank F, and then try using the skill against a Baby Brown-tailed Mongoose. To successfully use Counterattack, you’ll first need to coax the monster into attacking you with a melee attack. Try striking the Baby Brown-tailed Mongoose, then immediately trigger the Counterattack skill.
After successfully using the Counterattack skill 3 times, return to Meles and talk to her to complete the quest.
* Counterattack will be ineffective against long range attacks.
2. Repair an Item
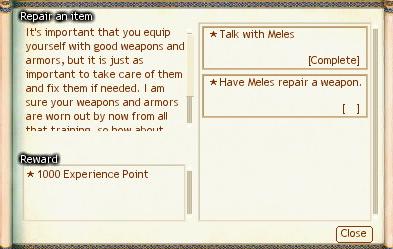
Even the most powerful items will eventually succumb to loss of durability if they are used continuously. When a weapon’s durability reaches [0], the weapon will lose its effectiveness and you may find yourself in a sticky situation as a result.
So what can you do to repair your beloved weapon? First, follow the quest scroll and talk to Meles. She will give you a brief explanation on how to repair an item.
Afterwards, talk to Meles once more and select [Repair] to repair your weapon.
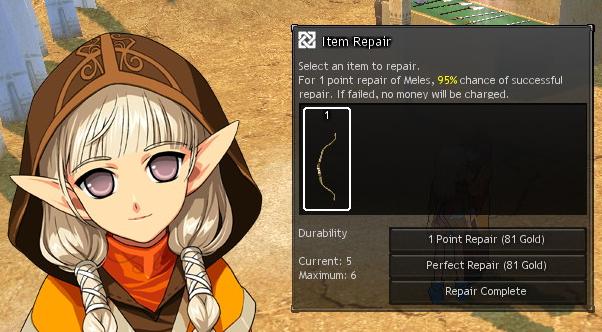
When you select [Repair], you will see an item repair window as displayed above. At the center of the window, you will see a list of items that the NPC will be able to repair.
Select an item to be repaired, and let Meles take care of the rest. If you do not have a single item with a low durability level, then get back in the field and use the item a bit more in combat situations, then return to Meles.
For Meles, if she repairs 1 point of durability, her success rate is at 95%. All NPCs that repair items have their own set of repair cost and success rates, so if the weapon you want to repair is very important to you, be advised to find the NPC with a high success rate on repairing items.
Once your item is repaired, that concludes the [Repair an Item] quest.
3. Collect Firewood
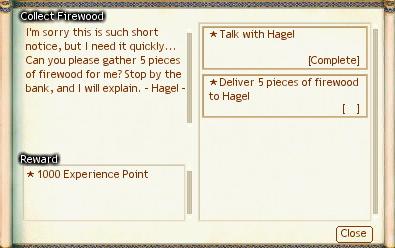
Hagel will tell you that she needs 5 pieces of firewood in order to repair the Quest Board that is set up next to her.
Don’t you think he may teach you something new if you help him out with something?
After completing the conversation with Hagel, you will notice an axe in your inventory.
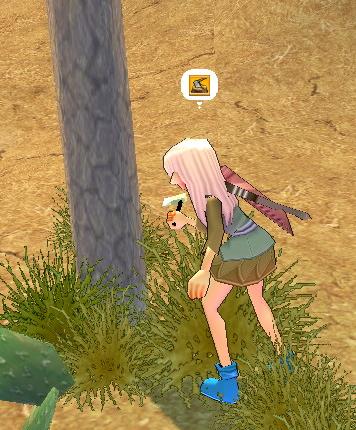
Equip this axe on the equipment window where your hand rests, and move to a tree you may think is big enough to chop off. Place your cursor on top of the tree, and you will notice that the cursor has turned into an [axe]. Then, click on the tree to attempt to chop off some wood from the tree.
This process of gathering firewood has a set success rate. Once you have successfully chopped away 5 pieces of firewood, place them in your inventory and talk to Hagel to complete the transaction. In return, Hagel will teach you the Campfire skill.
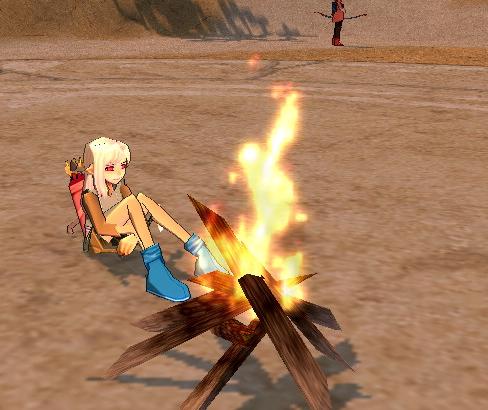
The Campfire skill can take place when you have 5 pieces of firewood in possession. Use the skill to set up a bonfire and rest next to it; you will notice that the speed of recovery for your HP, stamina, and injury have all increased as a result. Also, when you sit around the campfire with other users, you will be able to share food with others.
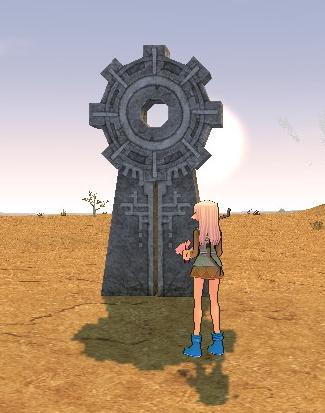
4. Sketch the Eye of the Sun
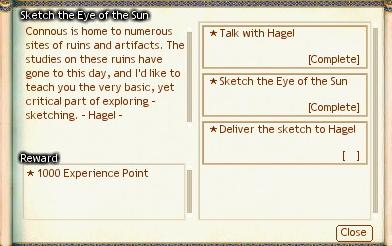
Talk to Hagel, and he will hand you a sketch paper and ask you to sketch an artifact called [Eye of the Sun].
On the minimap, you will notice a flashing spot marked [QUEST]. Walk over there to find the artifact that Hagel instructed you to find. To sketch the artifact, either press [N] to open the Action window and click on [Sketch], or right-click on the sketch paper in your inventory and click on [Use] to start sketching.
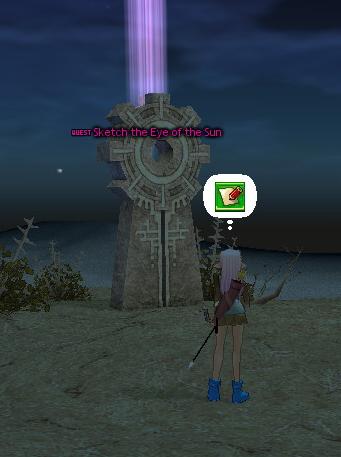
When you are ready to sketch, an icon will flash above your head featuring a pencil and a sketch paper. Place your cursor on top of an object you’d like to sketch, and the cursor will change to resemble a [pencil and sketch paper]. Then, click on the artifact to start sketching.
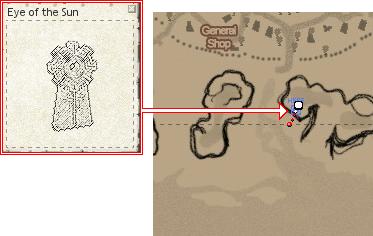
After completing the sketch, open the item inventory to find the sketch of the artifact. To see if the sketch was successful, either [Ctrl+left click] on the paper or right-click on it and select [Use], and the location where you have sketched the artifact will be flashed on the minimap in blue.
Afterwards, talk to Hagel with the sketch of Eye of the Sun in your inventory to complete the quest.
5. Young Dark Red Porcupine Claws
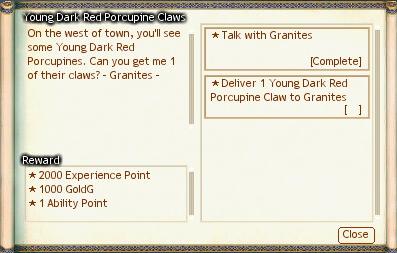
Talk to Granites and he will tell you that he needs some claws of Young Dark Red Porcupines. This item can be obtained at a set rate by defeating Young Dark Red Porcupines.
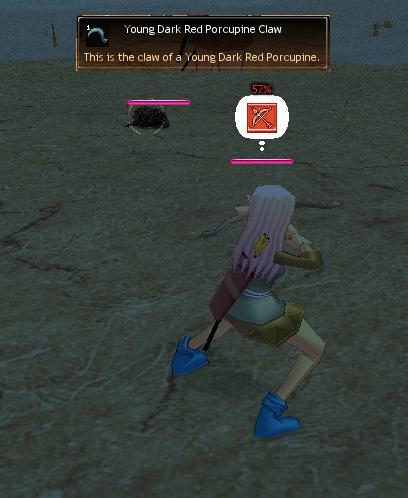
With the claws in possession, talk to Granites to complete the quest.
6. Sketch Young Dark Red Porcupine
The Sketch action will allow you to not only sketch artifacts, but also monsters. How will you learn to sketch a moving monster?
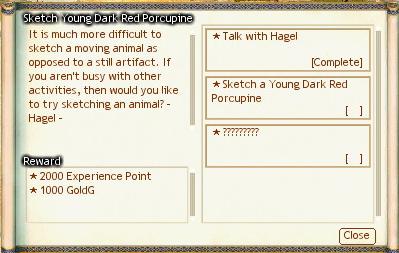
Talk to Hagel, and he will give you a sketch paper and ask you to sketch a Young Dark Red Porcupine.
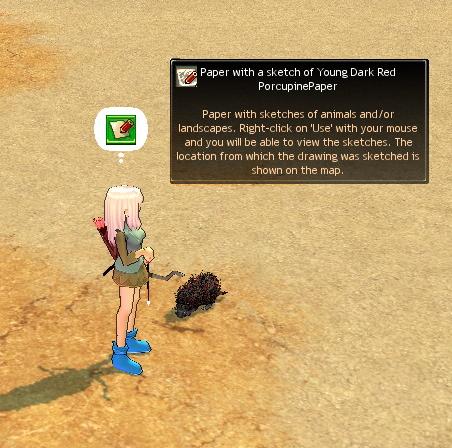
Sketching can only take place when the object is standing still, so observe Young Dark Red Porcupine until it stands still, and then quickly sketch the monster. Please note that any monster that’s knocked unconscious cannot be sketched.
After completing the sketch, return to Hagel and hand over the sketch to complete the quest.
Sketching monsters in Iria will give you extra Exploration EXP, so how about carrying some sketch papers with you and sketch monsters in your spare time?
7. Eliminate Red Sand Scorpion
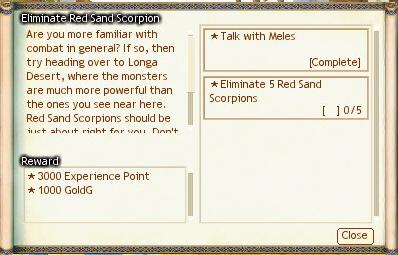
Talk to Meles, and she will ask you to take on some [Red Sand Scorpions], which can be found a bit far from Filia. Open your minimap and head towards the spot where [QUEST] flashes to take on the Red Sand Scorpions.
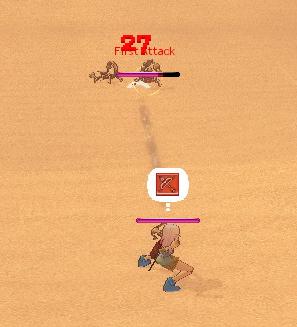
Unlike the monsters that reside near Filia, Red Sand Scorpions are quite powerful and venomous. These scorpions are also accompanied by Desert Warrior Ghosts, so be careful of them while battling the scorpions. One way to effectively fight them would be to attack and retreat to keep a safe distance, or mix it up with Counterattack and Defense.
After eliminating 5 Red Sand Scorpions, you will receive notice that you have completed the quest. You won’t have to return to Meles and report results.
8. The Eye of the Sun that Magically Vanished
According to Hagel, Connous is a fertile ground for artifacts, and these artifacts have been left by the ancient Elves. These Elves are apparently in search of these artifacts to recover their lost memory.
One of these artifacts is the magically-hidden Eye of the Sun. These hidden artifacts can be found using a tool called the L-ROD.
When you are equipped with an L-Rod, standing near an artifact will trigger the [beeping] from the tool. If it [beeps] four times, that means you are standing near an artifact. Click [X] and click on an area where you suspect an artifact may be located, and when you are in fact near where the artifact is hidden, the magically-hidden artifact will appear in view.
Press [M] to open the minimap, and head over to an area where [QUEST] is flashing, and try finding the Eye of the Sun that has been magically hidden. When you finally spot the artifact, the artifact will appear in flashes of light as shown above.
Afterwards, return to Hagel and talk to him to complete the quest.
* If you have not gone through with the quest at the tutorial field with Vena, then you must purchase your own L-Rod prior to this quest.
9. Red Sand Scorpion Venom Sac
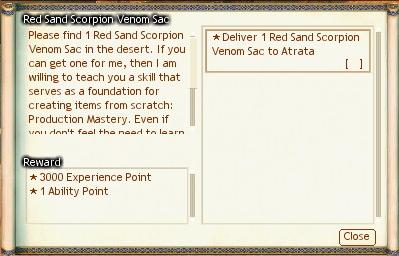
Through the quest scroll, Atrata will instruct you to find 1 Red Sand Scorpion Venom Sac. This item will be dropped at a set rate by defeating a Red Sand Scorpion.
Once you have obtained the Red Sand Scorpion Venom Sac, talk to Atrata to complete the quest.
In return, Atrata will teach you the basics of the [Production Mastery].
After completing the conversation with Atrata, open your skill window and click on [Get] that’s flashed next to the Production Mastery skill, and it’ll lead you to a skill-advancement window as shown below.
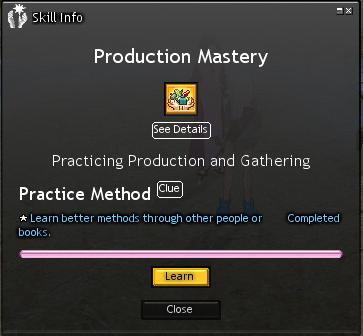
As you can see, mastering the Production Mastery skill will increase your success rate of production and gathering, as well as boosting your Max Stamina. If you also have one of the production-related skills at Rank 9 or above, every rank-up will increase your dexterity as well.
10. An Artifact Buried in Sand
Longa Desert is notorious for being home to various artifacts that have been buried under sand. Using an L-Rod will allow you to find the spot where the hidden artifact is placed, but you won’t be able to actually find the artifact and see it for yourself. This is when you will use a more specialized L-Rod to uncover artifacts.
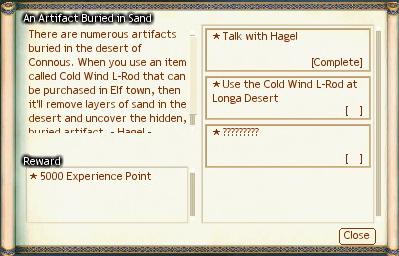
Hagel will instruct you to head over to Longa Desert and use the [Cold-winded L-Rod] to lower the landscape a bit. After completing the conversation with him, you will notice that a Cold-winded L-Rod has been given to you by Hagel.
Cold-winded L-Rod has its tips pointed south and uses the power of the spirits of cold wind to lower the landscape. If an artifact is found below the sand, then use the Cold-winded L-Rod.
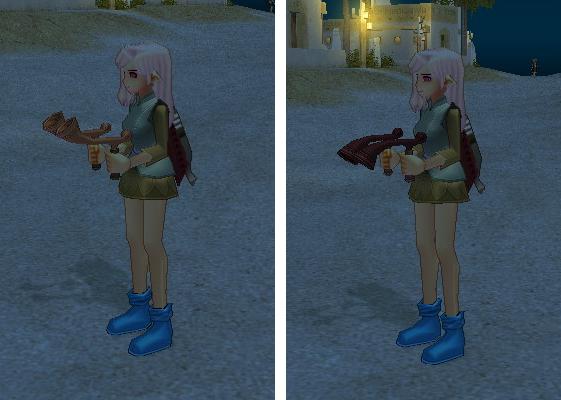
For Elf-only L-Rods, there’s also a Hot-winded L-Rod. Unlike the cold-winded counterpart, the tip of this one points up towards the sky, and the tool possesses the spirit of hot wind, which will allow you to stack up the sand.
While equipped with these L-Rods, use the [Land Maker] action to either lower the landscape or raise it.

Cold-winded L-Rods can only be used in the area of Longa Desert where the wind blows. Use the Cold-winded L-Rod to lower the landscape, then report the results to Hagel to complete the quest.
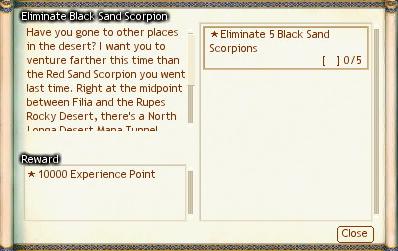
11. Eliminate Black Sand Scorpion
Through the quest scroll, Meles will ask you to take on some [Black Sand Scorpions], which can be found a bit farther from the area where you defeated the Red Sand Scorpions. Head over to the Mana Tunnel located north of Longa Desert to find the Black Sand Scorpions.
Black Sand Scorpions are also venomous, and they are more powerful than any of the monsters you have previously faced in tutorial quests, so please be careful when taking on this monster.
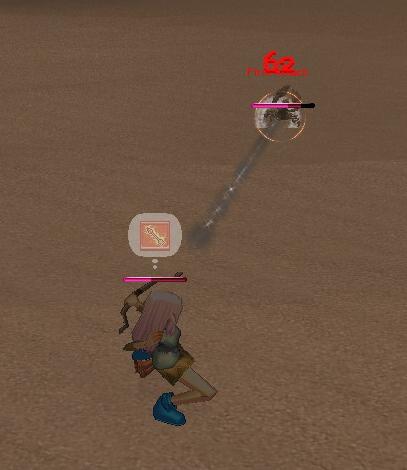
After eliminating 5 Black Sand Scorpions, you will receive notice that you have completed the quest. You won’t have to return to Meles to report the results.
We have just covered Part 2 of Elf Tutorial Quests, covering various skills, exploring artifacts, monster sketches, and even battling more powerful monsters.
This does not mean the tutorial quests are complete.
Proceed with the next set of Elf Tutorial Quests and discover new regions and new monsters that will make your experience worthwhile.